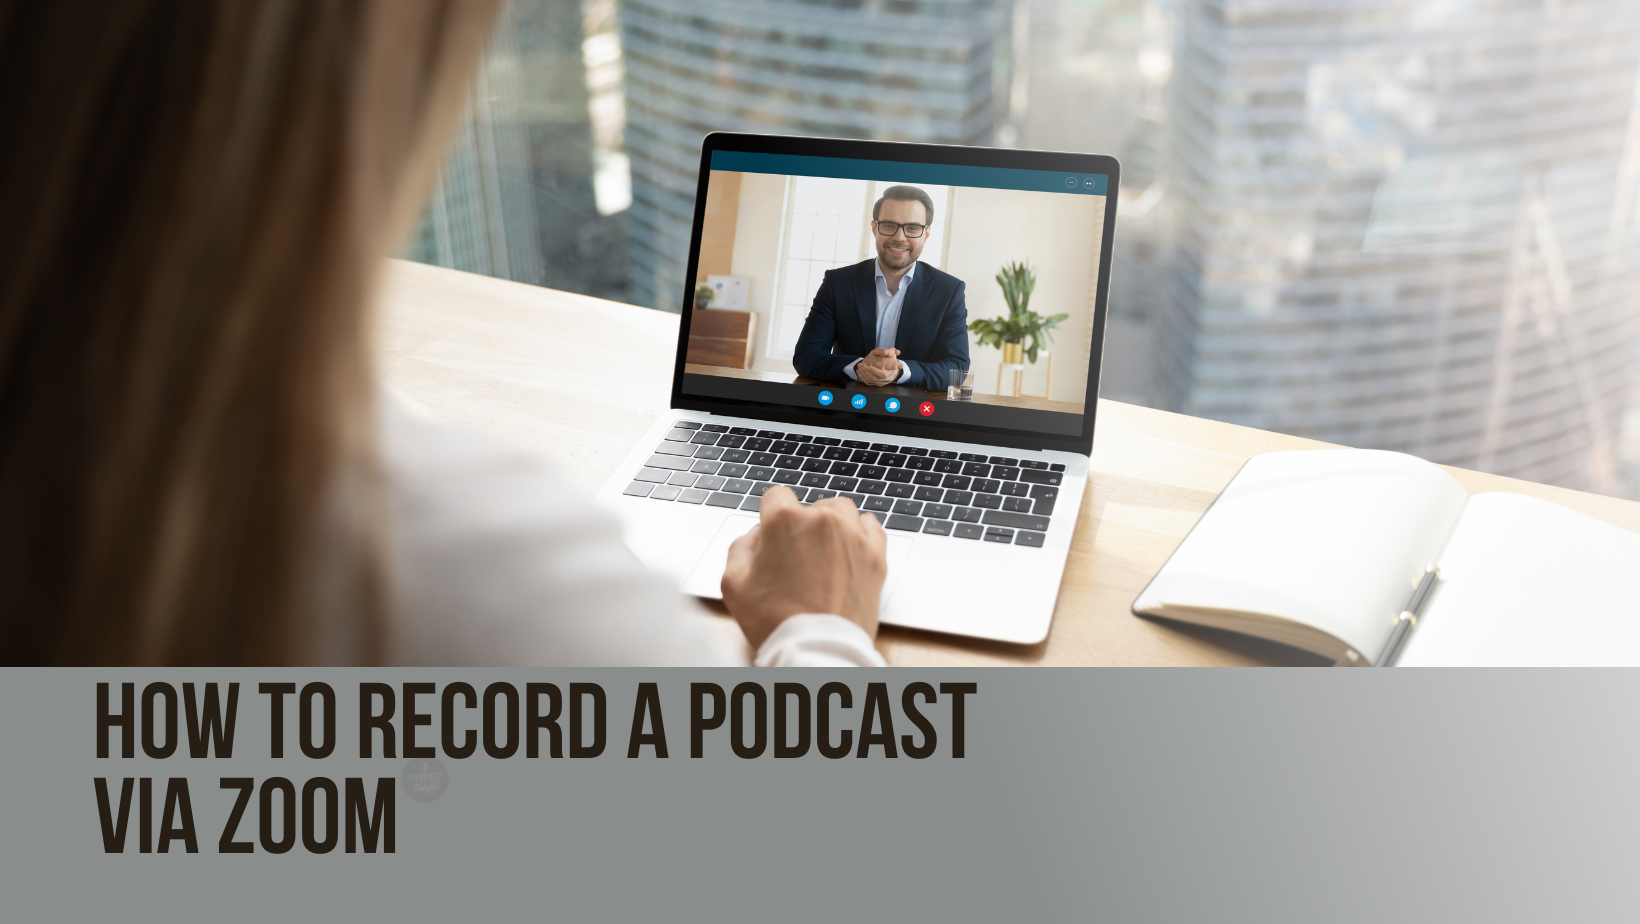
We’ve all experienced or heard about Zoom meetings; however, few are aware that this platform can be utilized beyond corporate discussions. Yes! You’ve got it right—Zoom is an excellent tool for podcasting too. With its user-friendly interface and recording features, it’s possible to create high-quality podcasts right from your home.
Whether you’re an amateur exploring new avenues or a professional looking to improve audio quality on your existing podcast, our step-by-step guide will help you maneuver effectively on Zoom. We aim to provide practical tips and tricks that take into account various scenarios—from solo podcasts to group discussions—to ensure optimal results every time.
How to Record a Podcast on Zoom
Install Zoom & Create An Account
To use Zoom for podcasts, first download the app onto your device and create an account. This can be done for free on their website. However, the free version only allows calls up to 40 minutes long.
If you need longer sessions, consider upgrading to a paid plan like the Pro plan at $14.99 per month which allows meetings up to 24 hours long.
After setting up your account and plan, choose “New Meeting” to start immediately or “Schedule” for a later date.
If you already have a Zoom account, log in from the official site and begin creating your meeting. Use the desktop client to select ‘New Meeting’ or ‘Schedule’ for future recording.
Setup Equipment (Microphone & Headphone)
Zoom can utilize the built-in microphone and speakers of your device. Although you can record a podcast using just your device’s default mic, it is advisable to get a better-quality one. Sound quality might not be the only thing that attracts listeners to your podcast, but poor sound quality will definitely turn them away. Hence, investing in a good microphone – there are numerous available for less than $50 – would be beneficial.
To join a Zoom meeting and check the sound quality, click on the arrow next to ‘Join Audio’, then select ‘Test Speaker and Microphone’ from the pop-up menu.
Once you’re satisfied with the audio test results, ensure that you connect your audio by clicking on “Join Audio” followed by “Join with Computer Audio”. If necessary, choose another microphone by clicking on the small arrow next to the mic icon.
To change your microphone, click on the arrow next to the microphone symbol. A list with all available microphones will appear under “Choose a Microphone.” Simply select the one you wish to use and adjust your audio input accordingly.
For podcast recording on Zoom, it’s advisable to use headphones. This prevents any echo from occurring when your guest’s voice comes out of your speakers and is captured by your mic again.
Schedule Podcast
Once you’ve finalized a suitable date and time for your podcast with other hosts or participants, set up a meeting on Zoom. The platform enables you to add guests by selecting the “Participants” tab followed by the “Invite” option. You can then choose an invitee from your contact list or through email. Alternatively, you could directly share an invitation link if you select “Copy Invite Link”. This will allow your guests to join the call effortlessly.
If the recording is slated for later, it’s possible to send invites prior to starting it. To do this, create a scheduled meeting first and get its invitation link either from Google Calendar or straightaway from Zoom dashboard. Then paste this link into any communication medium of your choice.
Record Your Podcast
To start your call, click on the “New Meeting” button. Once your guest has joined, select “Manage Participants”, which you’ll find at the bottom of your screen. This will show you everyone who’s in the call. Make sure all microphones are working well and that everyone can be heard clearly.
When you’re ready to record your podcast episode, simply press “Record”, then turn ON the “Original Sound”. After wrapping up, click on “End” and then “End Meeting for All.”
Keep in mind that if you’re using Zoom’s free version for a group meeting; remember there is a 40-minute recording limit per session.
Removing Background Noise
Background noise can really ruin a good podcast. So it’s important to make sure your audio quality is top-notch, especially when using Zoom for your podcasts. One way to do this is by turning on the ‘Original Sound’ feature in Zoom.
Zoom offers an in-built noise cancellation technology that’s designed to remove annoying background noises and echo during your recording sessions. To activate this, you need to open up the Zoom desktop app and click on the ‘Settings’ icon.
From there, select ‘Audio’ from the side menu and then scroll down until you reach ‘Audio Profile.’ Here, you’ll find a box labeled ‘Original sound for musicians’- just tick it!
Once that’s done, you’ll notice an option at the top of your recording screen saying ‘Original Sound for Musicians’. This allows you to turn it on or off as needed with just one simple click!
Record Individual Audio Tracks
Zoom allows the meeting host to record every participant’s audio separately. This feature can be activated for both local and cloud recordings. For local recordings, you can turn it on from your desktop client settings by going to Recording > Local Recording and checking the ‘Record a separate audio file for each participant’ box. For cloud recordings, this setting is found under Settings > Recording > Cloud recording and selecting the ‘Record a separate audio file for each participant’ option.
After your Zoom meeting ends, the recorded files are saved into different categories in a folder: combined audio, chat transcript, video footage as well as an ‘Audio Record’ folder consisting of individual M4A files for each speaker’s output.
Edit The Recording
Once you’ve finished recording, your Zoom podcast files will be stored in a specific folder on your computer. This is typically located within a Zoom-specific folder found in your documents. The recorded content will include MA4, MP4 and other types of files. You can modify this prior to recording by navigating to the ‘Recordings’ tab in settings and selecting a different storage location.
If you have opted for individual tracks per speaker during recording, there will be an M4A audio file corresponding to each participant. These files are conveniently named after the person speaking making them easy to identify.
Lastly, upload these recordings into any preferred editing software and start refining your podcast. Incorporate elements like an introduction and conclusion, trim unnecessary parts of the conversation, add music or sound effects among others things as needed.
Publish Your Podcast
Your final task is to distribute your podcast. This involves uploading it onto a podcast hosting site of your preference, and then pushing your show out to directories such as Spotify, Apple and Google Podcasts. It’s advisable to publish on multiple platforms for maximum exposure.

Pros Of Using Zoom
- It’s Free: Zoom has a free plan which allows you to start podcasting without investing any money.
- Familiarity: Since the pandemic, many people are already familiar with using Zoom thus reducing technical issues for your guests.
- No Need to Download App: Your guests can join your podcast recording session via a browser link without needing to download anything.
- Easy Recording and Storage: You can choose between saving recordings locally or on Zoom cloud, making file access easy.
- Simple Usage: The process of sending links and starting meetings is straightforward even for first-time users.
- User-friendly Platform : Zoom makes it simple to create, share links and record podcasts with participants remotely.
- Separate Audio Tracks : With this feature available on zoom, individual audio tracks for each participant can be edited independently minimizing noise interference or cross-talks thereby improving sound quality of your podcast episode.
Cons Of Using Zoom
- Internet Dependency: Zoom relies on Voice over Internet Protocol (VoIP) technology, meaning a strong and consistent internet connection is necessary for it to function effectively. Any disruptions or lags in the internet service can lead to interruptions in your podcast’s audio or video quality.
- Compromised Audio and Video Quality: To prioritize speed and ease of use, Zoom compresses audio and video files which can result in reduced quality. This means parts of the audio track are removed to make the file smaller, potentially affecting your content.
- Limited Recording Time: The free plan on Zoom allows only up to 40 minutes of recording per meeting, restricting users who want longer episodes.
- No Direct Publishing Options: Zoom doesn’t offer any native options for publishing podcasts directly onto popular platforms like YouTube, Spotify, Apple Podcasts or Amazon Music.
- Lack of Editing Features: There are no built-in editing features available on Zoom which makes post-production process more complicated as you would need another software tool for this purpose.
Starting your Podcast Via Zoom
Zoom is an accessible and easy-to-use tool for recording podcasts, especially for beginners. While there are more advanced options available that can enhance your podcast’s quality, starting with Zoom allows you to bring your ideas to life without feeling overwhelmed by technology. Don’t hesitate to explore other voice recording software as you progress in your podcasting journey. Remember, the key is getting started; improvements and refinements can always be made along the way!
Leave a Reply